Fertilizers are critical to maintaining the health and vitality of crops. Two of the most common types of fertilizers are liquid and granular fertilizers.
While they both serve the same purpose of providing essential nutrients to plants, they differ in their application methods, efficiency, and cost.
Liquid fertilizers are considered the best compared to solid fertilizers due to their quick supply of nutrients to plants and cost-effectiveness.
Understanding liquid fertilizer
Liquid fertilizer is a type of fertilizer that comes in a liquid concentrate that needs to be diluted with water before being applied. Some liquid fertilizers begin as water-soluble tablets that dissolve in water first.
Unlike granular fertilizers, liquid fertilizers are typically quick-releasing, meaning they provide an immediate burst of nutrients to crops. This quick release also means that liquid fertilizers may need to be applied more frequently than granular fertilizers.
How to make liquid fertilizers
Gather organic waste
Gather organic waste, focusing on plant-based materials. Kitchen scraps (excluding meat and dairy products), yard waste like grass clippings and leaves, and even weeds can serve as the base for your fertilizer.
Roughly cut up the plant matter
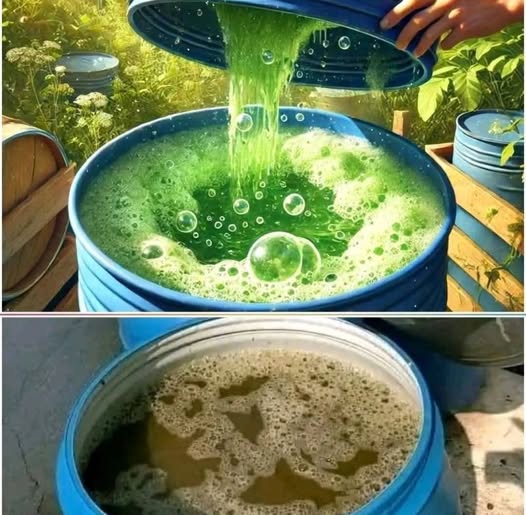
Cut the plant matter and add to a large plastic container along with about 10 litres of rainwater. The plants must be completely submerged.
Cover the mixture
Cover the mixture up but not so airtight as the fermentation process requires oxygen to work. Place the container in a shaded spot.
Leave the solution to ferment
Make sure to stir the mixture every day. Once bubbles no longer form on the surface of the liquid when it is stirred, fermentation is complete. This might take between 8 to 15 days depending on the plant used and the temperature outdoors.
Filter
Filter the liquid and the fertiliser is ready to use. If you can’t use the fertiliser right away store it in airtight containers such as bottles or jerry cans and keep it in a cool, dark place. It will then last several months.
Poultry farming: How much can a first timer make from 300 layers
Tips for making the best liquid fertiliser
- Use rainwater instead of tap water, especially if you’re hoping for the mixture to ferment as rainwater is naturally soft. Alternatively, use water from a well or another natural source.
- If you have to use tap water, leave it to air out for two days, taking care to stir it regularly; this will help the chlorine to evaporate.
- Do not prepare your mixture in a metal container to prevent oxidisation. Similarly, don’t use a wooden container as this can alter the end results. Instead, use glass, plastic or terracotta.
- When filtering, work in two or three steps. Start with a rough filter to take out the largest debris (a sieve, for example) and work your way down to one or two passes through an old insect net or pair of tights.
- Liquid fertiliser can be kept for a long time (up to a year) if stored in opaque, airtight containers kept in a cool spot. To ensure your fertiliser lasts, be sure to fill your containers up to the neck to prevent oxygen from getting in.
- Do not mix plant varieties when making a plant-based liquid fertiliser. This can prevent the mixture from fermenting properly. However, you can make several different mixtures as long as you prepare them separately.


