“Some of my most cherished memories from childhood are from the years I lived on my grandparent’s 50 acre farm. My grandfather would plow his fields with a team of strong cows and I would tag along behind busting up dirt clods with my bare feet. We had chickens that ran free and while we plowed they would follow along behind us devouring earthworms the plow dug up.
I now live in an urban area with chickens in the backyard and a garden that’s ploughed by shovel. My chickens love to accompany me while I dig, all the while eating worms my shovel turns up. My flock usually averages around 10 to 15 chickens, and each demand their fair share of the catch. However there are never enough worms to go around. Therefore, few years ago I hit upon the idea to raise worms to feed my chickens. After all, I love my poultry and want to keep them happy and healthy.
I’ve found raising worms to be quite easy and very rewarding. The advantages of raising worms don’t end with just feeding your chickens. Besides helping to cut down on your feed costs, worms are incredibly proficient at reducing your kitchen waste to compost. The compost, called worm castings is an excellent source of fertilizer for the garden. It is rich in humic acids that help condition the soil and contains up to five times more nitrogen, seven times more phosphorus and eleven times more potassium than ordinary soil, nutrients essential for healthy plant growth.
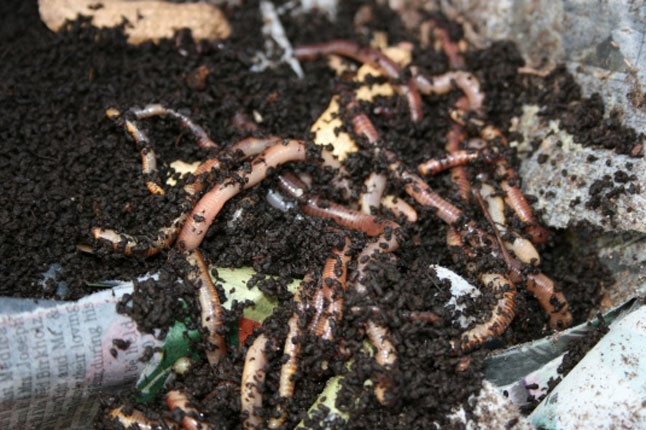
All that is needed to raise worms is a container to hold your worms, food scraps and some kind of bedding. The bedding can be shredded newspaper, composed manure, fallen leaves, or just about any organic, compostable material. Avoid using highly acidic leaves as the worms don’t like them much. Also, I don’t like to use white paper because of the bleach used in its production, or colored papers because the inks and dyes may harm the worms.
I use large plastic bins with a lid for the container. Drill some small holes in the bottom for drainage and several holes in the sides and top for ventilation. Choose a size according to how much waste you have. It is very easy to add bins in the future if you find that it’s necessary. You can catch the drainage water by placing the worm bin inside a second bin which has no holes in it. The water that collects should be disposed of periodically. I installed mine to facilitate draining. Add worms and food scraps and let them go to work. “


can i get more information about this farming.please