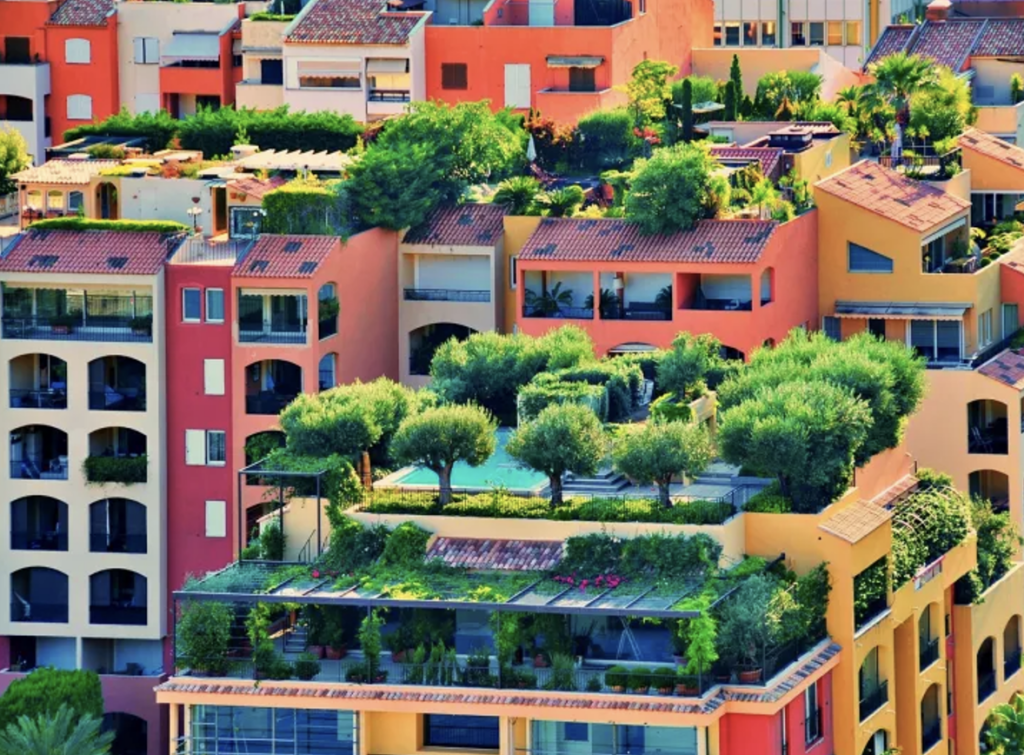
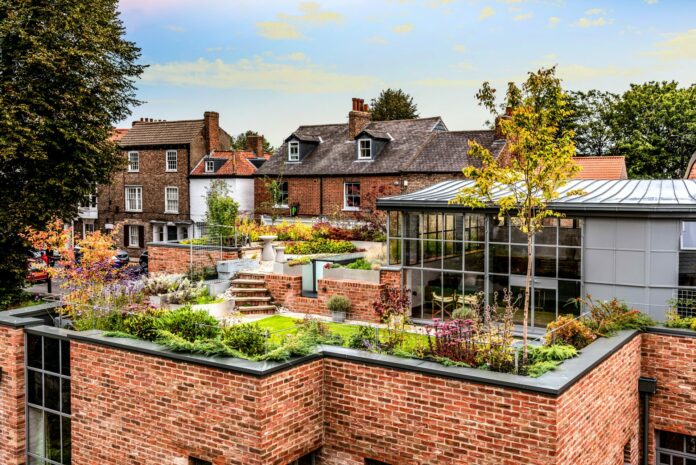
A rooftop garden can be a wonderful addition to any building, providing a peaceful and relaxing space to escape the hustle and bustle of daily life. With proper planning and execution, a rooftop garden can even improve the energy efficiency of your building and potentially save you money on utility bills.
Here is a guide on how to build a rooftop garden in the city:
Step 1: Evaluate the Structural Integrity of Your Roof
Before you begin planning your rooftop garden, you need to evaluate the structural integrity of your roof. A rooftop garden can add significant weight to your roof, so it is important to ensure that it can support the additional weight.
You can hire a structural engineer to assess the strength of your roof and determine its load-bearing capacity.
Step 2: Decide on the Type of Garden You Want
Once you have determined that your roof can support a garden, you need to decide on the type of garden you want.
Do you want a vegetable garden, a flower garden, or a combination of both? Will you be planting directly in the soil or using containers?
These decisions will affect the amount of weight your roof will need to support and the type of maintenance your garden will require.
Step 3: Choose the Right Plants
When choosing plants for your rooftop garden, it is important to consider the local climate, the amount of sun and shade your roof receives, and the amount of wind your roof is exposed to.
It would be best to choose plants that are well-suited to these conditions and can thrive in a rooftop environment. Additionally, you may want to consider using native plants adapted to the local climate and require less water and maintenance.
Step 4: Install a Waterproof Membrane
Before installing your garden, you must ensure your roof is waterproof. Installing a waterproof membrane will prevent water from seeping through the roof and damaging your building.
You should hire a professional roofing contractor to install the membrane and ensure it is properly sealed.
Step 5: Install Drainage and Irrigation Systems
Proper drainage and irrigation are essential for a healthy rooftop garden. You should install a drainage system that will remove excess water from your roof and prevent water from pooling.
Additionally, you should install an irrigation system to ensure your plants receive the right amount of water. You can choose between a drip irrigation system or a sprinkler system, depending on the size and type of your garden.
Step 6: Install a Growing Medium
Once you have installed your drainage and irrigation systems, you need to add a growing medium to your rooftop garden.
This can be a soil mix specifically designed for rooftop gardens or a lightweight, low-density soilless mix. The growing medium should be able to retain moisture and nutrients while also providing adequate drainage.

Step 7: Plant Your Garden
Now it’s time to plant your garden! If you are planting directly in the soil, you should mix in organic compost and fertilizer to provide your plants with the necessary nutrients.
If you are using containers, you can fill them with your growing medium and plant your seeds or seedlings.
Step 8: Maintain Your Garden
Maintaining your rooftop garden is essential for its long-term success. You should regularly check your plants for signs of pests and diseases and address any issues promptly.
Additionally, you should water your plants regularly and fertilize them as needed. Pruning and deadheading can also help keep your plants healthy and encourage new growth.
By following these steps, you can create a beautiful and thriving garden that will provide you with fresh produce, beautiful flowers, and a peaceful retreat.


